
Shopify to BigCommerce Migration: A Step-by-Step Guide
Introduction
Are you wondering how to migrate from Shopify to BigCommerce? If so, you come to the right place. In this article, we will show you all you need to know about Shopify to BigCommerce migration, including:
- Shopify vs BigCommerce – Why move to BigCommerce?
- 3 Methods to switch from Shopify to BigCommerce
- Shopify to BigCommerce Migration: What to prepare?
- How to migrate from Shopify to BigCommerce?
- Shopify to BigCommerce: post-migration checklist
Without further ado, let’s dive right in!
Shopify vs BigCommerce – Why Move to BigCommerce?
Can’t decide which to choose, BigCommerce or Shopify? Let’s take a look at the quick comparison between BigCommerce vs Shopify!
What is BigCommerce?
BigCommerce stands tall with its vast features, granting you the power to create and expand your online business effortlessly. Its highly customizable templates allow you to infuse your brand’s personality into every pixel.
The platform’s powerful built-in marketing tools allow you to run your online store like a well-oiled machine. Plus, with seamless integrations BigCommerce offers, you’ll be free to connect with popular payment gateways and third-party applications.
What is Shopify?
Unlike BigCommerce, Shopify is well-known for its ease of use, ultimately simplifying your process of building an online store. Its user-friendly interface makes setting up shop a breeze, and the professionally designed themes add that touch of polish to your virtual storefront.
Shopify’s secure payment options, inventory management, and SEO tools are well-known for providing a sturdy foundation for small businesses and budding entrepreneurs to get started quickly.

If you don’t know how to choose Shopify or BigCommerce, Shopify is all the rage thanks to its ease of use
What are the advantages of BigCommerce?
Unbiasedly speaking, Shopify is a top-choice solution for lots of websites. However, just because Shopify is popular doesn’t mean it’s a one-size-fits-all.
In fact, there are many aspects where BigCommerce completely overshadows Shopify. Chief among them is:
- No additional transaction fees: If you choose not to use Shopify’s own payment gateway, you’ll be charged additional transaction fees (0.5%-2% depending on the pricing plan). With BigCommerce, you won’t be charged such fees.
- More suitable for stores with sophisticated catalogs: With BigCommerce, you can add up to 600 variants per product– this completely beats Shopify’s cap limit of 125 variants per product.
- More room for advanced SEO configurations: BigCommerce allows you to fully customize URLs, and edit robot.txt, and CDN– which are all yet to be possible with Shopify.
- Lower costs: Compared to Shopify, BigCommerce’s fantastic automation and flat-rate pricing will help reduce costs as your store grows bigger.
3 Methods to Switch from Shopify to BigCommerce
Now that you know all the fantastic features of BigCommerce vs Shopify, let’s spend some minutes looking at 3 most popular methods to migrate Shopify to BigCommerce.
#1. Import data manually
The first way to move from Shopify to BigCommerce is to manually import your data to the BigCommerce platform.
You can export your products, customers, orders, and other relevant data from your Shopify store and import it into BigCommerce using CSV files or other supported formats. This method requires careful attention to detail and can be time-consuming, especially if you have a large amount of data.
| Pros | Cons |
|---|---|
|
|
#2. Hire an expert
Another method to transfer Shopify to BigCommerce is to seek the help of an experienced professional or agency specializing in Shopify to BigCommerce migrations. They will handle the entire migration process, ensuring a smooth transition and minimizing the risk of data loss or errors.
This method suits those who prefer to delegate tasks to experts and want a hassle-free migration.
| Pros | Cons |
|---|---|
|
|
#3. Choose an automated migration service
And last, you can import products from Shopify to BigCommerce or any data using migration from Shopify to BigCommerce service.
These services typically provide automated tools or software that streamline the migration process. You’ll need to follow their instructions and provide the necessary access credentials for both your Shopify and BigCommerce stores.
| Pros | Cons |
|---|---|
|
|
Among the three mentioned methods, from our experience, this is the method that is best for your money worth. Well, we mean you don’t have to waste either time manually handling the migration or expensive fees for hiring an expert.
So, in this article, we will show you how to migrate from Shopify to BigCommerce using migration service – particularly the top-notch service by LitExtension (we’ll discuss this later).
Shopify to BigCommerce Migration: What to Prepare?
#1. Back up your Shopify store’s data
To ensure a smooth transition from Shopify to BigCommerce, the first step you should take is to back up your Shopify store’s data. While LitExtension provides the security and accuracy of your data during the migration process, having a backup is still a recommended practice to safeguard your business-critical information.
There are 3 common methods for backing up and restoring your data:
Option 1: Manually back up your store data by exporting CSV files. This method allows you to export products, customers, orders, gift cards, discount codes, and themes. However, other data, such as blogs and pages, must be copied and pasted into CSV files.
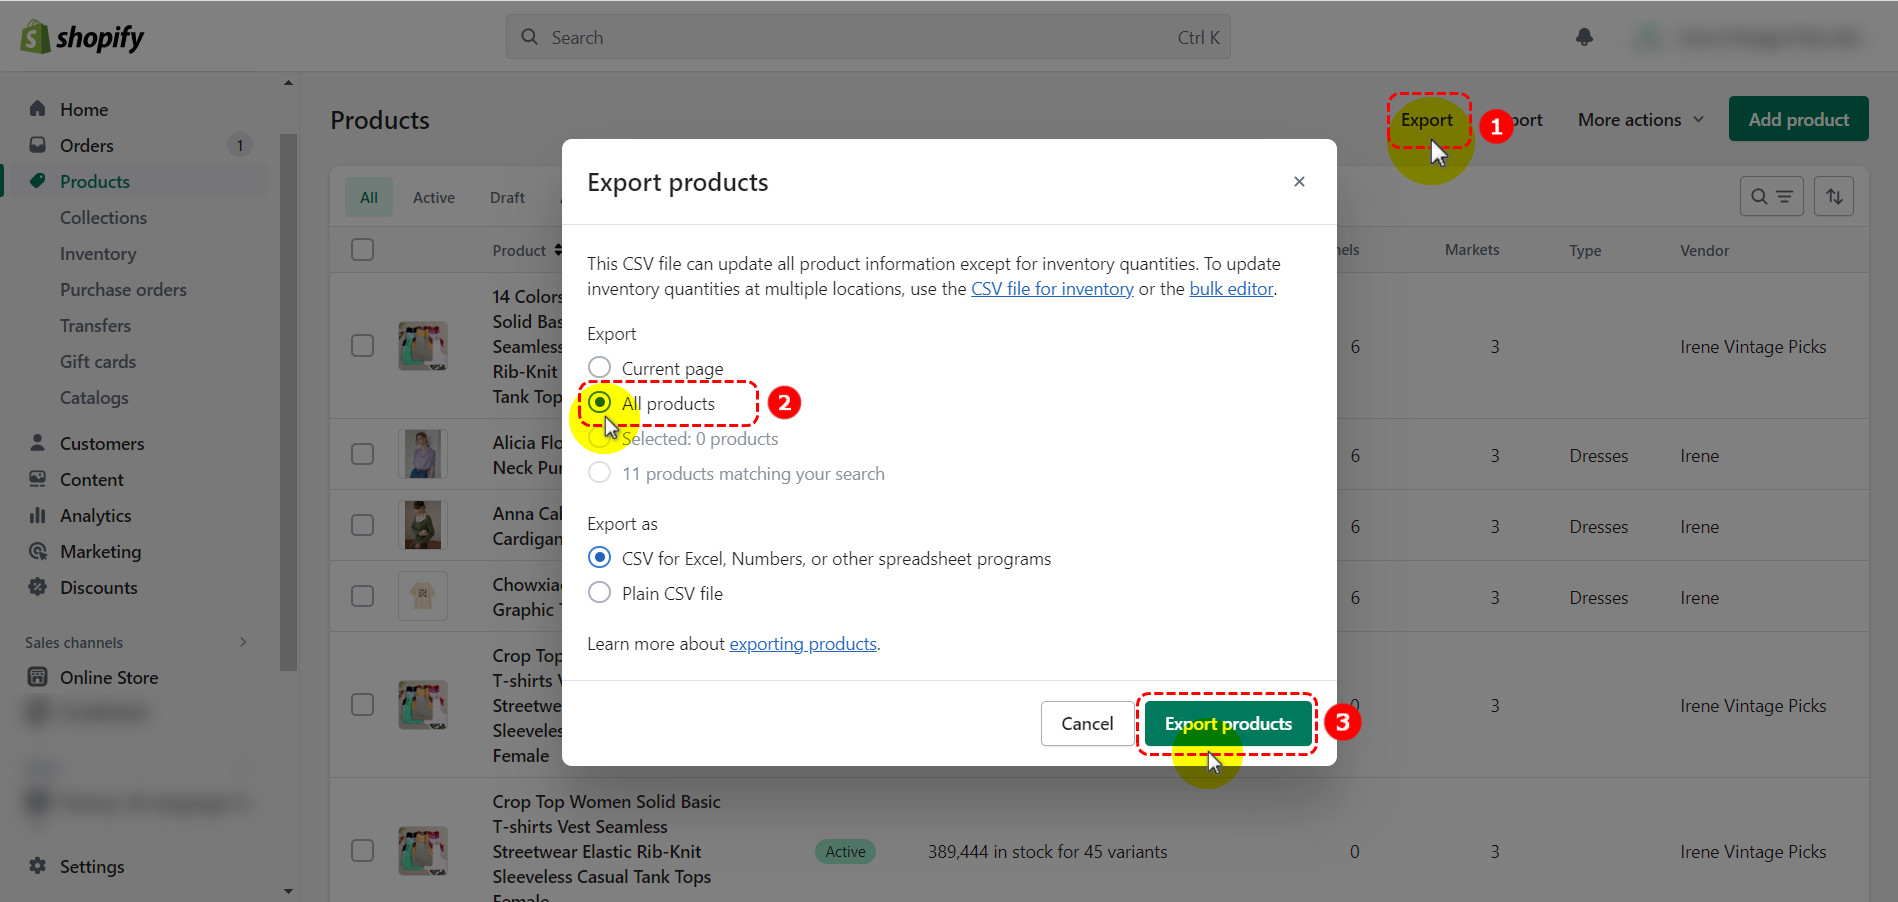

Export product data from Shopify Catalog under CSV files
Option 2: Build a backup solution for your Shopify store using Shopify’s public APIs. This option requires a good understanding of available APIs to gather all the necessary information from your store. However, keeping up with Shopify’s evolving APIs can be challenging, which may lead to compatibility issues and potential breakdowns in the backup solution.

Option 3: Use an automated backup solution like Rewind Backups. This app is recommended to Shopify and Shopify Plus users as a comprehensive backup and data recovery solution. It utilizes Shopify’s public APIs to provide a holistic and accurate backup of your store without you having to do so manually.
#2. Launch & set up BigCommerce web store
After backing up your Shopify data, the next thing to do is to set up your BigCommerce store.
It all starts with filling out a simple form to create your new BigCommerce store. The best part? You can explore the platform for 15 days free, with no credit card required.
Enter your email address and create a password for your BigCommerce store. Then, give your store a name. Additionally, you’ll be asked a few prompt questions about your business.
Once you’ve completed the registration process, you’ll find yourself stepping into your very own BigCommerce dashboard as shown below:
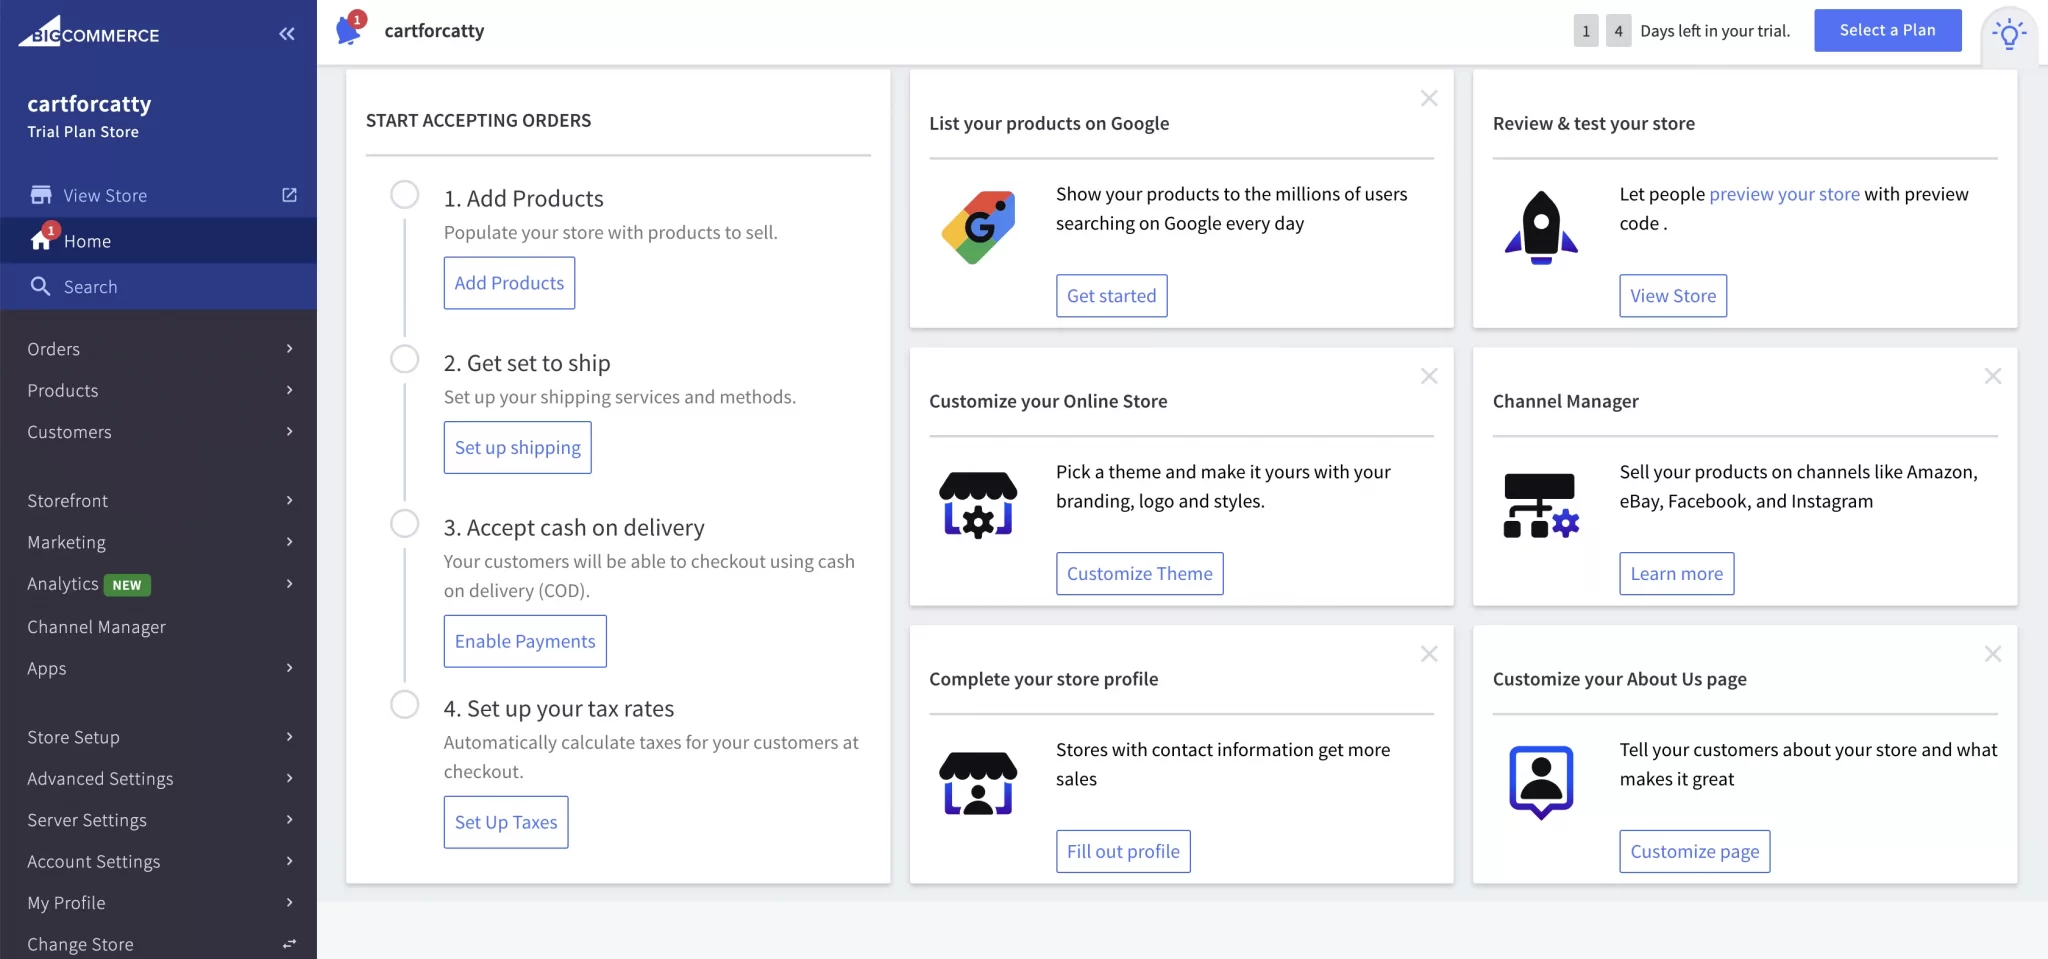

Take your time to navigate through the dashboard, acquaint yourself with its features, and embrace the possibilities it holds for building your dream eCommerce website.
How to Migrate from Shopify to BigCommerce?
Now that you have done the pre-migration checklist, let us give you a step-by-step guide on migrating from Shopify to BigCommerce using LitExtension’s Shopify to BigCommerce Migration Service.
You must first sign up for a LitExtension account using your email, Facebook, or Google account.
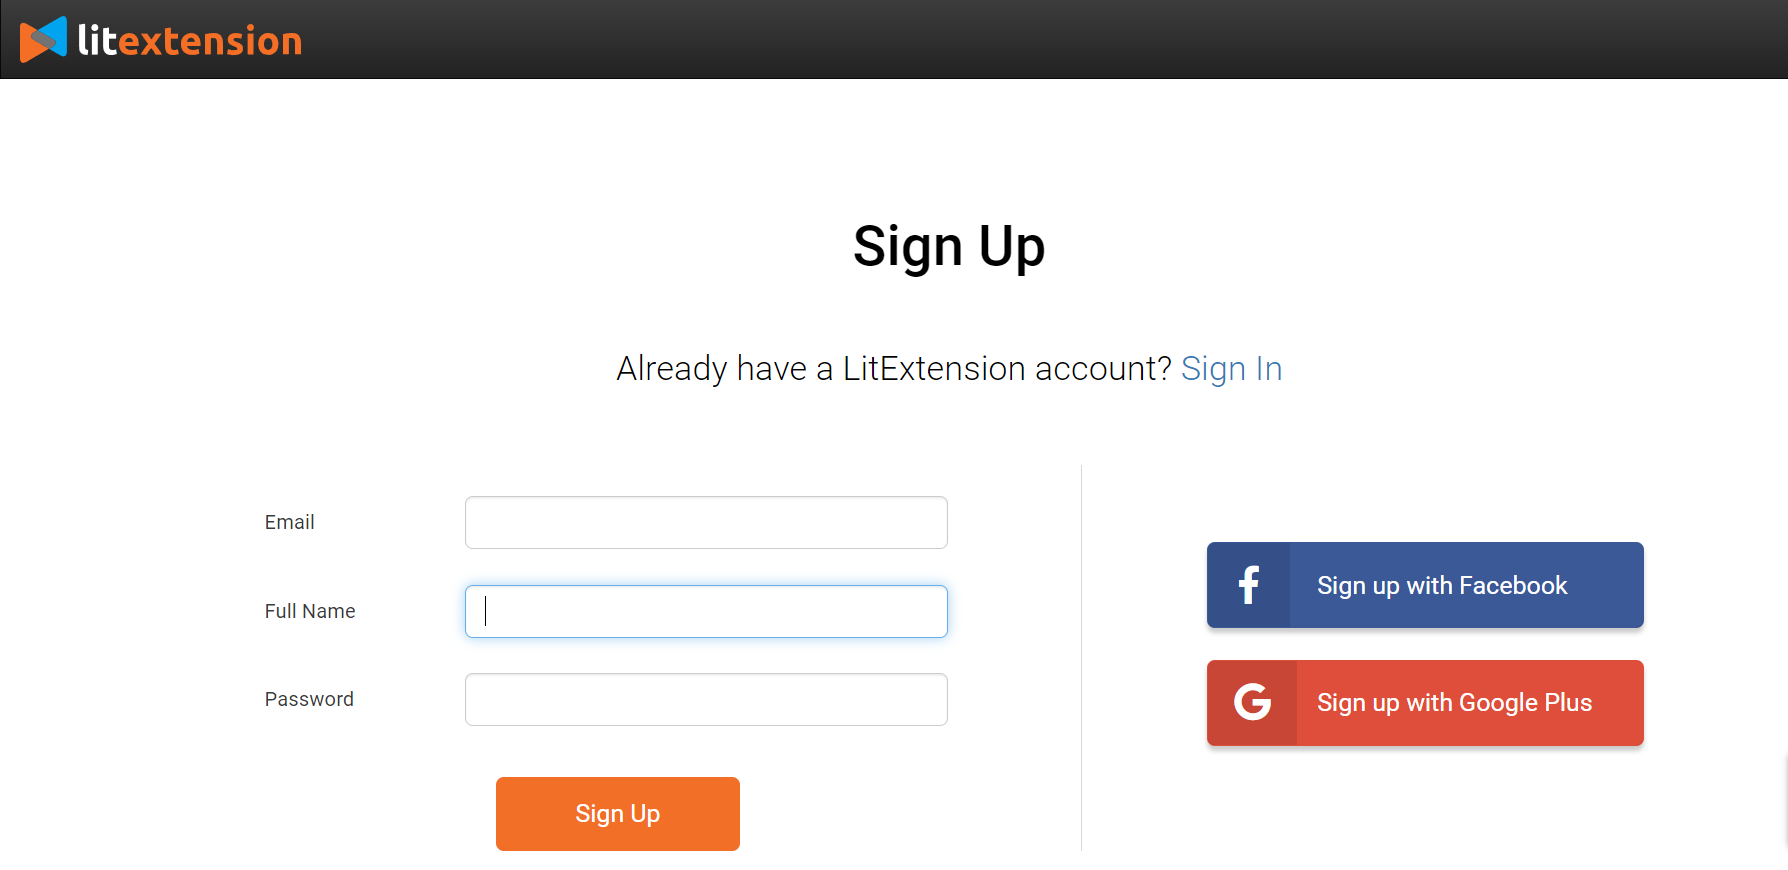

Create your LitExtension account to get started
#Step 1: Set up Source Cart and Target Cart
After creating a new LitExtension account, you can initiate the migration process from Shopify to BigCommerce by simply clicking on the “Create New Migration” option.
To set up your Shopify store as the source cart, go to the migration setup page and provide the necessary information, including your store URL and Shopify API password.
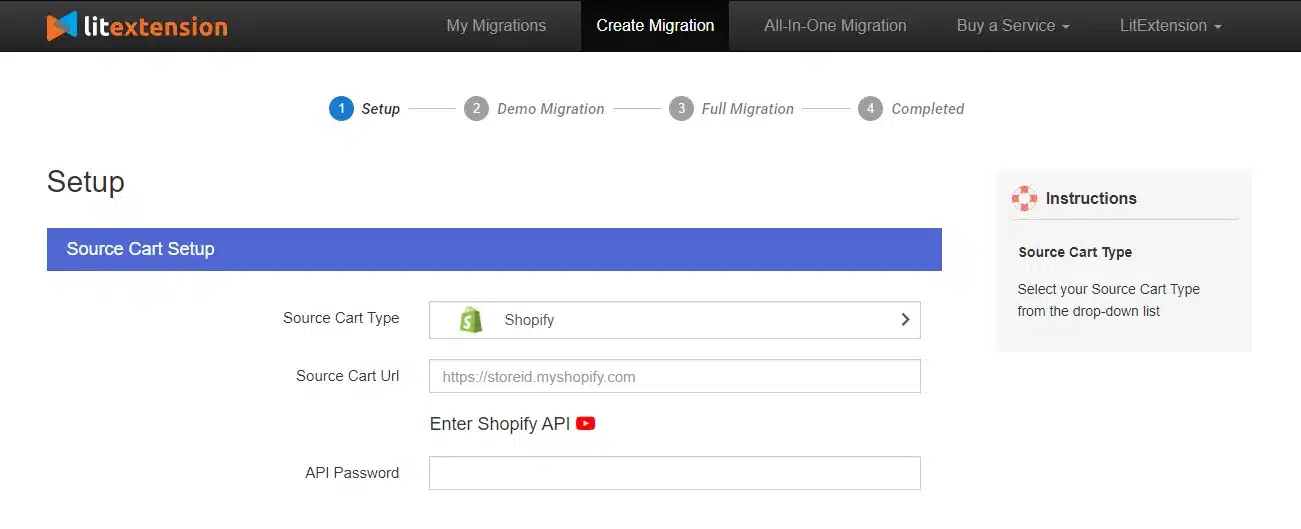

Set up your Shopify store as a source cart
For the target cart, which is BigCommerce, select it from the drop-down list and enter your store URL. Additionally, you’ll need to provide your API Path, API token, and Client ID/Username.
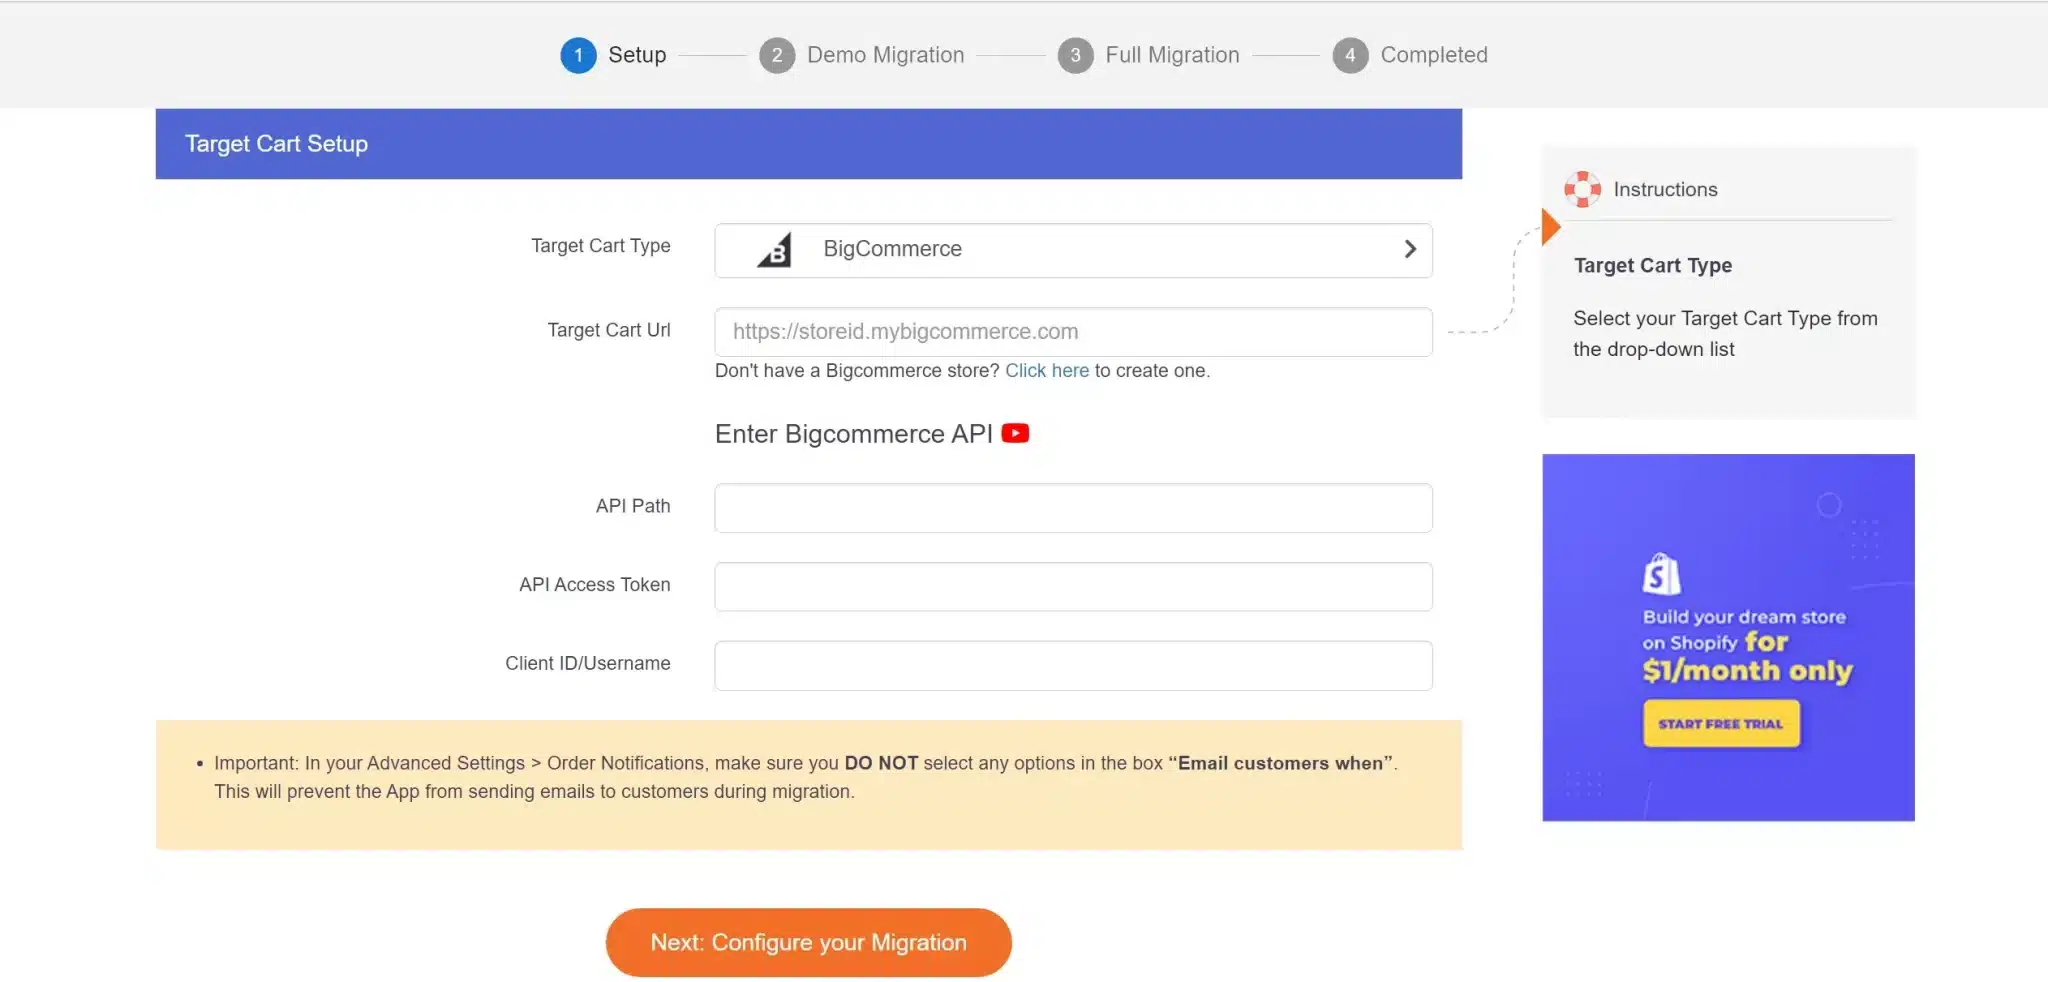

Set up your BigCommerce store as a target cart
After choosing Shopify as your source cart and BigCommerce as your target cart, let’s move on to the next step of Shopify to BigCommerce migration process.
#Step 2: Choose the data your want to migrate
Afterward, let’s choose the data you want to migrate from Shopify to BigCommerce. LitExtension enables you to transfer essential data, such as products, customers, orders, and more. You can choose either all of them collectively or specific data elements.
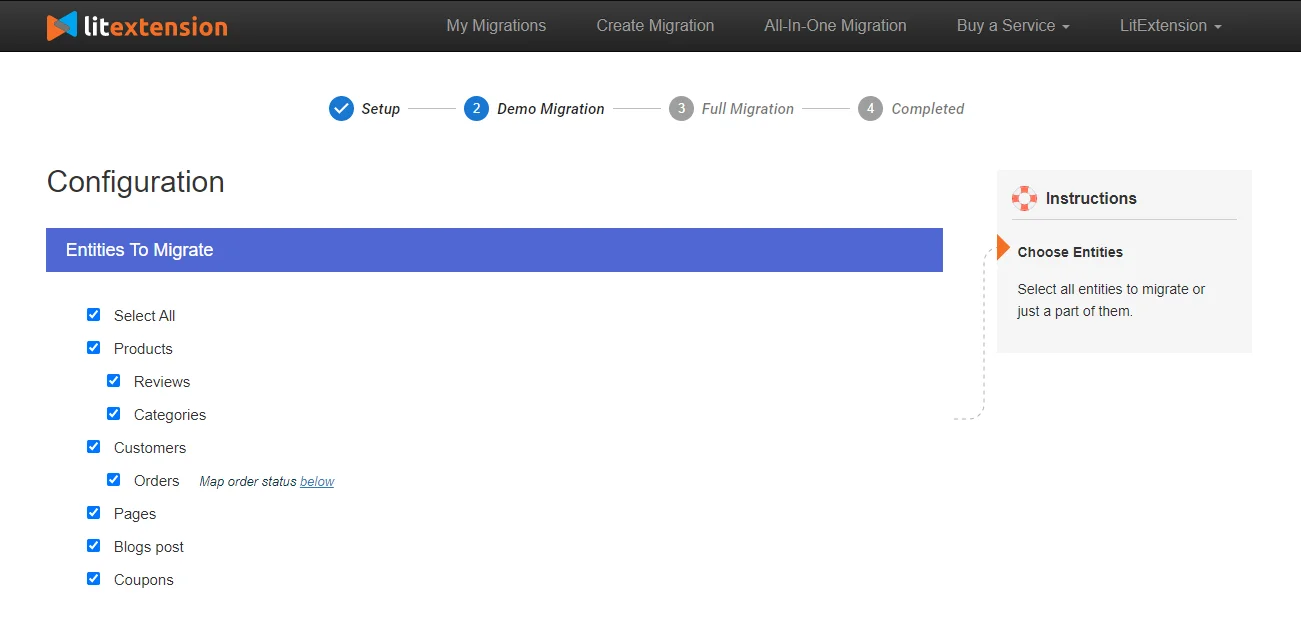

Select the data you want to migrate from Shopify to BigCommerce
Additionally, LitExtension offers Additional Options to enhance your migration capabilities, such as preserving product IDs on the target store and removing HTML from category and product names.
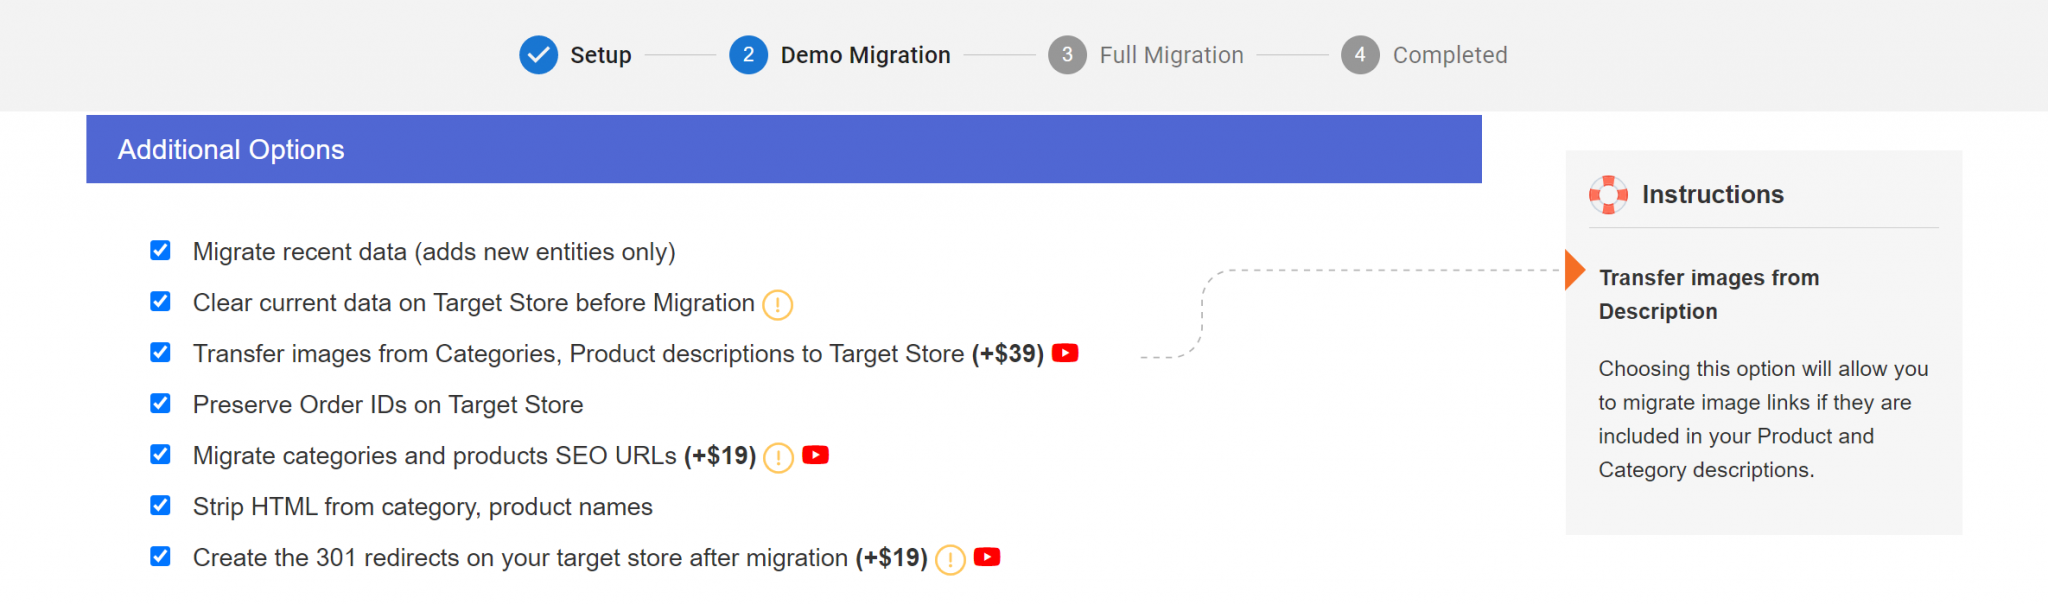

Select the additional data you want to migrate from Shopify to BigCommerce
#Step 3: Start migrating from Shopify to BigCommerce
We highly advise you to try the migration demo first to have a better understanding of how the LitExtension system works.
Alternatively, you can skip the demo migration and proceed directly with the full migration. Once the migration begins, it will run smoothly on our server without you having to keep your PC on during the process.
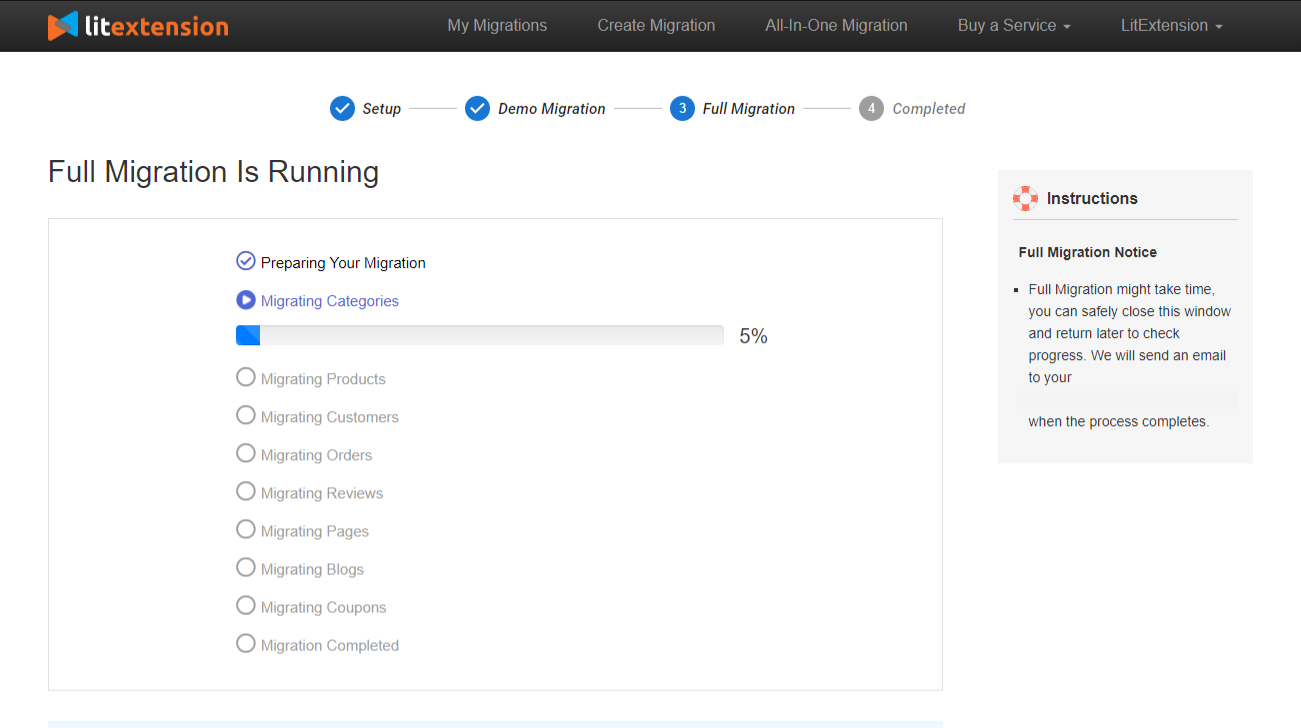

Activate the migration process
You will receive a notification email when the migration is completed. And since LitExtension has an All-In-One Migration Service, you can contact their Customer Success Managers for free 1-on-1 support if you encounter any slight inconvenience.
Shopify to BigCommerce: Post-Migration Checklist
Now that you’ve just successfully migrated from Shopify to BigCommerce, here is a to-do list to make sure your BigCommerce store is free from error and fully operational.
#1. Check your migration results
After moving all your data to BigCommerce, click on the “Check result” option to verify everything.
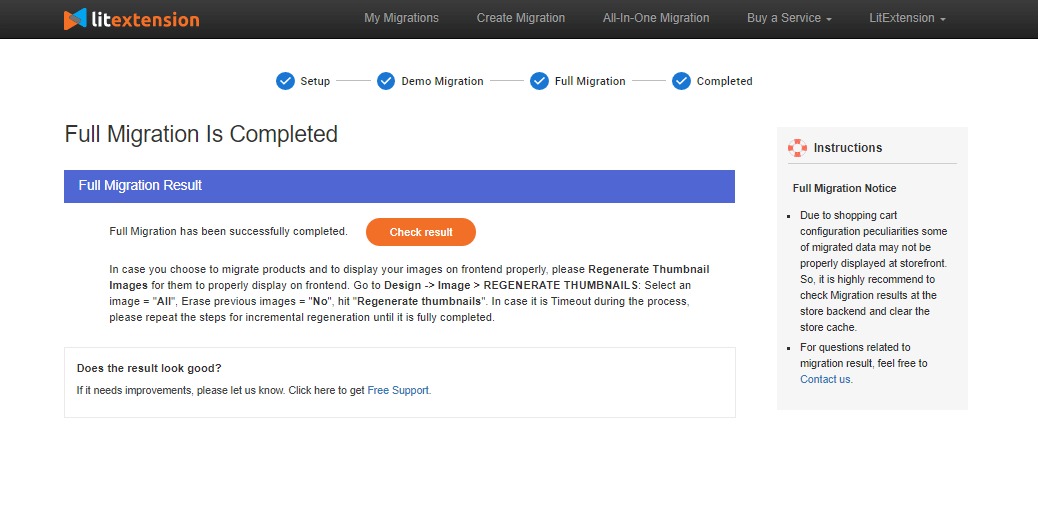

Hit Check result to check your migration result
Kindly refer to the checklist provided below:
- Confirm that all your products are visible both on the front-end and back-end of your website.
- Ensure that all your products are correctly displayed in the catalog, categorized appropriately, and searchable on your website.
- Thoroughly inspect all the links present in menus, headers, footers, and within the pages.
- Test the purchasing process by attempting to purchase in your new online store.
#2. Change the DNS setting and switch the domain
When setting up your BigCommerce store, you’ll have to ensure that your DNS settings are modified to point to the new IP address. The most convenient and expedient method is to reach out to your previous hosting service provider.
#3. Customize your BigCommerce theme
Unfortunately, you won’t be able to utilize your previous Shopify theme on your new website because it’s incompatible. However, you have two options:
- modify your new theme to resemble your old one
- or, opt for a completely fresh appearance.
When using BigCommerce, you have access to 15 free themes and approximately 130 paid themes, with prices ranging from $145 to $300.
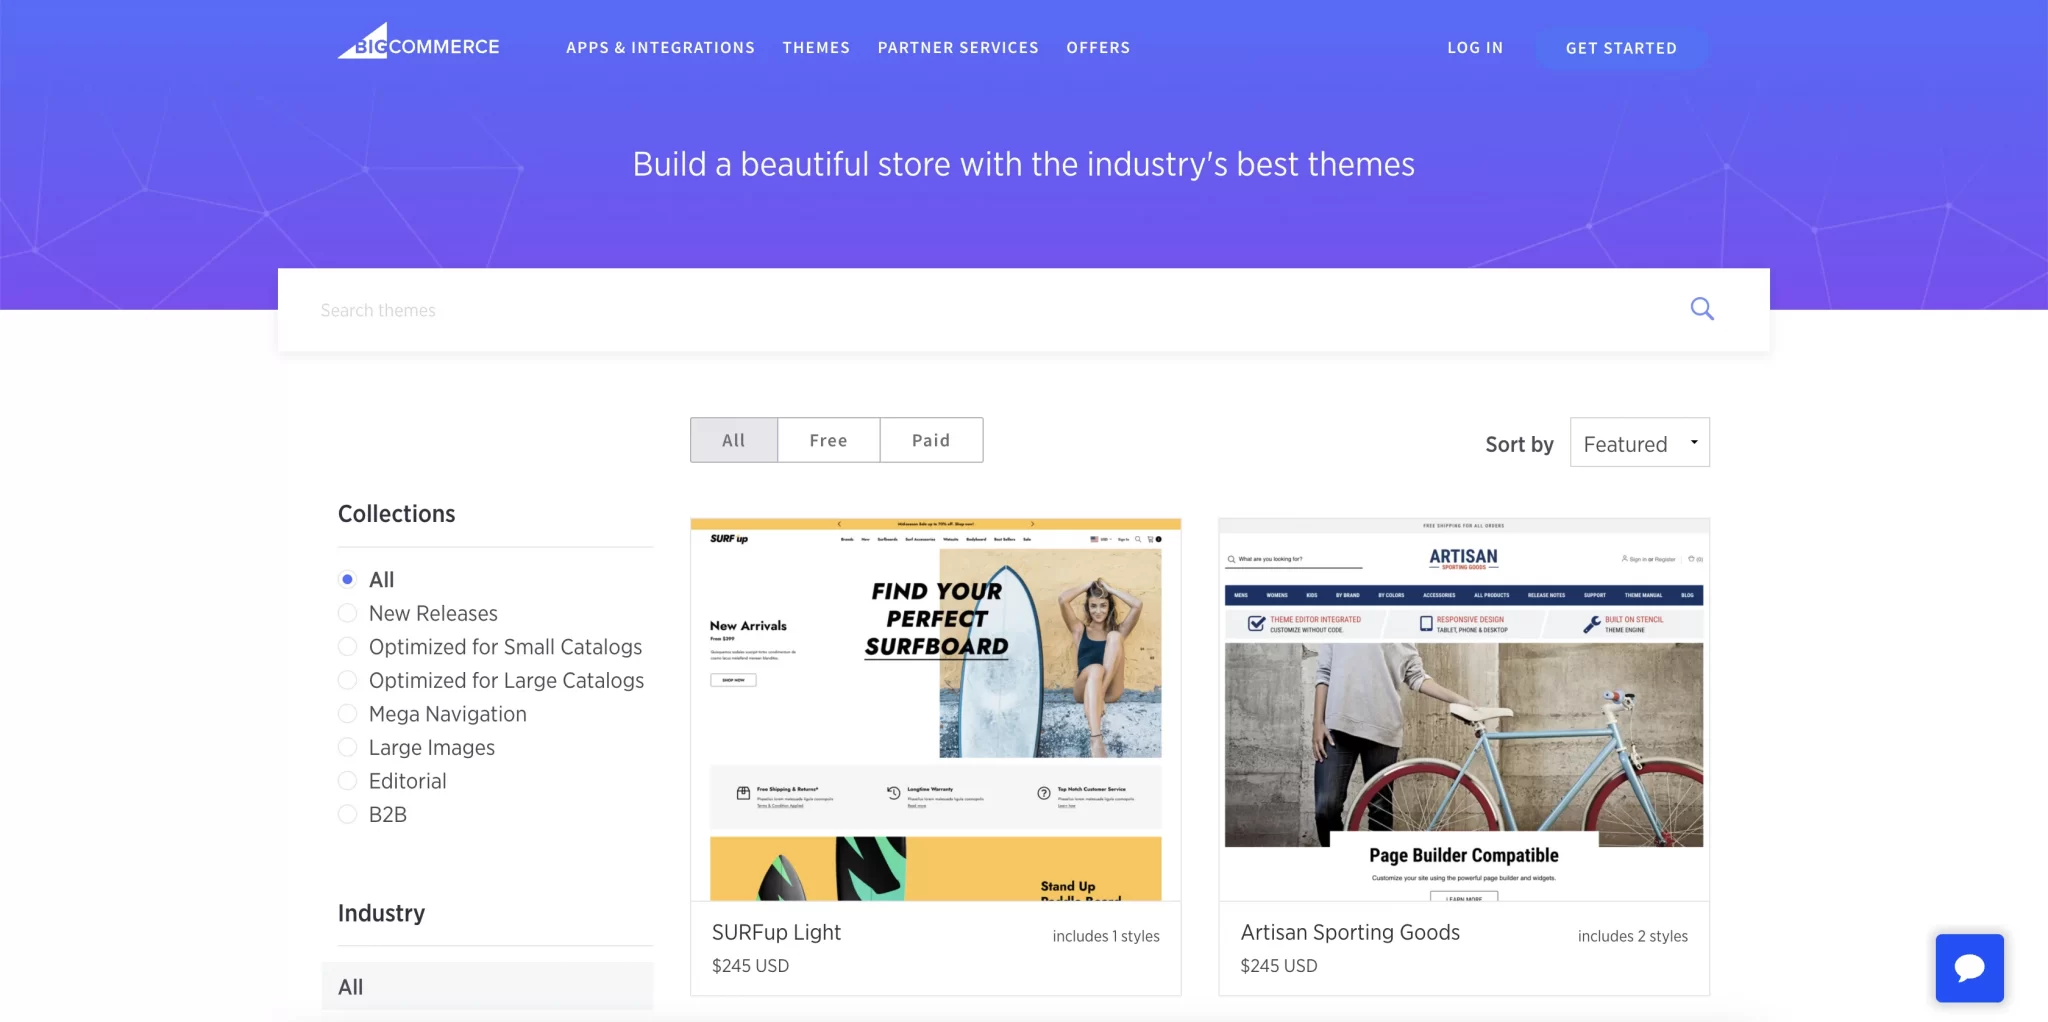

The extensive BigCommerce theme
Apart from the BigCommerce theme store, you can explore numerous themes on platforms like ThemeForest or TemplateMonster.
#4. Configure your payment methods
BigCommerce provides over 65 integrated payment gateways. Among these options are well-known providers like PayPal, Stripe, Square, and Apple Pay.
The great news is that all BigCommerce plans do not impose transaction fees. Instead, you only need to pay the credit card rates associated with your chosen plan. The higher the plan you select, the lower your credit card rates will be.
To access the available payment gateways, navigate to the “Store Setup” section, specifically the “Payments” tab. From there, click on “Online Payment Methods.”
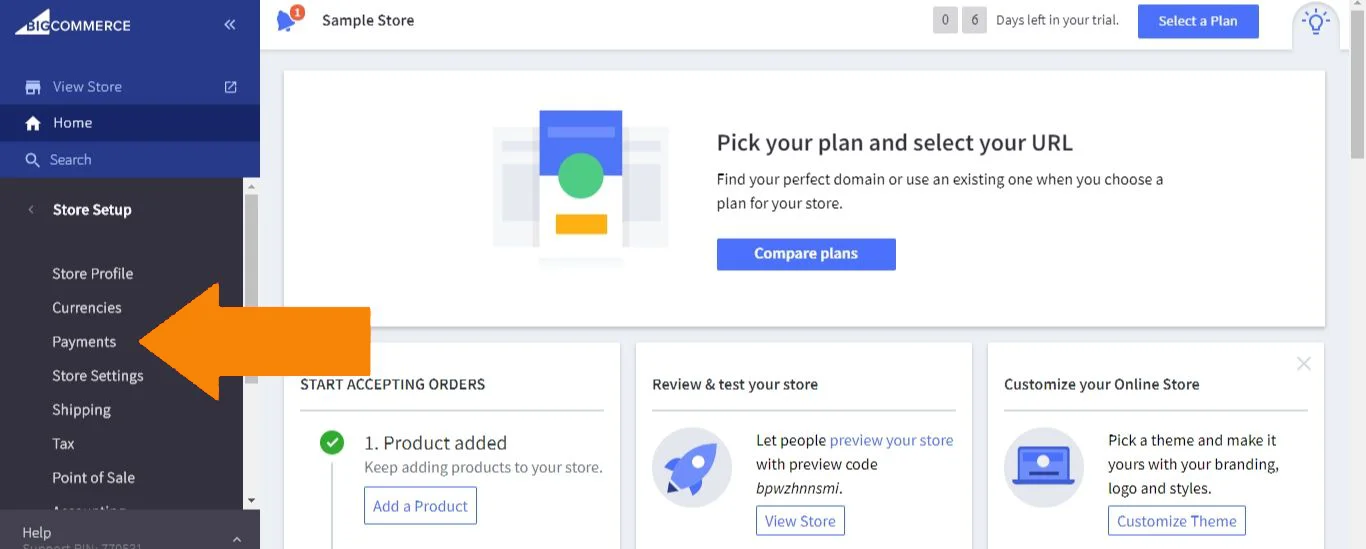

Configure your BigCommerce payments
You can locate your desired payment gateways and click “Set up.” Once you’ve entered the necessary credentials and adjusted the settings as needed, simply click “Save.”
#5. Place a test order
Your newly created BigCommerce store is now prepared for launch!
However, it’s advisable to place a test order to gain insight into your customers’ purchasing experience on your new website. This will enable you to make necessary adjustments to enhance the journey and ensure it is both enjoyable and efficient.
Here are several types of test orders you can perform:
- Complete a successful transaction as well as an unsuccessful one.
- Practice refunding and canceling an order.
- Attempt fulfilling an order, either in its entirety or partially.
- Save a successful charge for reference.
Congrats on your new BigCommerce store!
Shopify to BigCommerce – FAQs
Can I transfer my Shopify store to BigCommerce?
Yes, it is possible to transfer your Shopify store to BigCommerce using various methods such as manual data import, hiring an expert, or using a migration service.
Is BigCommerce cheaper than Shopify?
Yes, BigCommerce offers cost-effective pricing plans compared to Shopify. It provides lower transaction fees and no additional charges for using external payment gateways.
Which one is better Shopify or BigCommerce?
BigCommerce is a highly competitive platform with robust features, scalability, and flexibility. It offers a user-friendly interface, advanced customization options, and better value for money compared to Shopify.
Does Shopify charge a transaction fee vs. BigCommerce?
Yes, Shopify charges transaction fees on top of payment gateway fees if you use a third-party payment provider. In contrast, BigCommerce does not impose additional transaction fees, providing a more cost-effective solution for online businesses.
Final Thoughts
Given how easy it is to migrate from Shopify to BigCommerce, there is no room for hesitation. All you have to do is sign up for a LitExtension account, choose the data you want to migrate, and activate the migration in just a click.
Follow Techdee for more!