
Anyone who works with a computer will find a screen recorder for a PC useful. It comes in handy when you need to make a video showing how the software works, capture gameplay for social media or make a product demo video for buyers. It’s also necessary if you wish to capture something on the screen to share with colleagues or friends via video streaming platforms like YouTube.
Screen recording allows you to capture anything on your computer screen in the same way that you would with a camera or screenshots. You can experience live-capture upgrades, post-capture video editing choices, and more if you have the correct screen recording tools.
How to Record a Screen on Windows?
The Xbox Game Bar screen recording in Windows 10 allows you to capture actions from an app or game.
- Click the ‘Start’ button, then the ‘gear’ icon in the start menu to open the Settings app. You can also select the ‘all settings’ icon from the action center by pressing the notifications icon on the taskbar.
- Select” gaming” in the settings
- Check and turn on the toggle below the first line. To view and modify other customization options, select ‘captures’ on the left. For example, you can enable background recording and change the place where your screenshots and recordings are saved.
- When you’ve finished adjusting the settings, press the Win + G keyboard shortcut to launch the Xbox Game Bar. Although the original intent of this screen recording software was to capture gaming, it now has the ability to record other apps as well.
- When the Xbox Game Bar appears near the upper-center side of the screen, you’ll see buttons to access various options and overlays, such as audio, performance, gallery, widget menu, and more.
- The capture overlay displays by default, but you can force it to appear by clicking the webcam icon.
- To begin recording, press the start recording’ button. Click the purple icon and you can stop recording. You can also use the keyboard shortcut ‘Win + Alt + R’ to start and stop recording.
- The screen recording is saved as an MP4 file in the Captures folder of the Videos folder.
How To Screen A Screen And And Audio With iTOP Screen Recorder?
Windows built-in screen recorders have limited features and will not provide you with a great screen recording experience. As a result, you’ll need a screen recording tool like iTop Screen Recorder, a 100% free, simple and full-featured tool.
Screen record mode
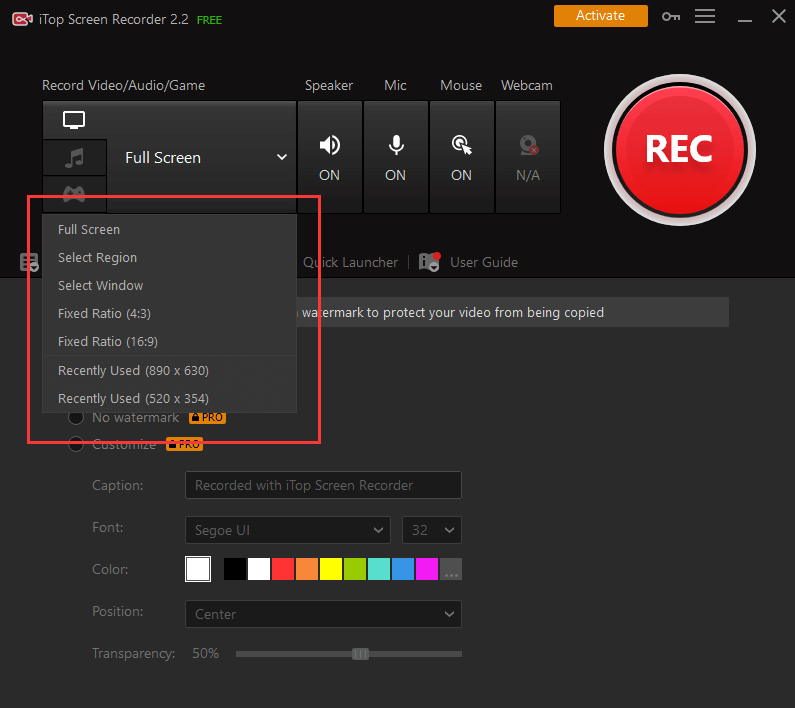
To start and stop recording, select a full screen, a part of the screen, or a specific ratio, then press REC and DONE. The tool can simultaneously record the screen, webcam, system, and user voice with no time limit or watermark.
Audio record mode
Select an output format such as MP3, AAC, AC3, FLAC, or WMAV2, then set the bitrate between 32 and 320 kbps, as well as the frequency and stereo/mono channels. Start the recording by pressing the Speaker and Mic buttons together.
Game record mode
The GPU hardware acceleration in iTop Screen Recorder allows for a 90FPS recording with minimal lag. Add a game to record, enable HUD, and begin recording at the highest FPS possible.
The iTop Screen Recorder makes recording screens simple. Even if this is your first-time screen recording, you will find it simple to follow the tool’s simple instructions.
How to Record a Mac screen?
macOS Catalina is a screen recorder for Mac OS X that allows users to capture screen recording tools.
- To drag up the screenshot toolbar, press ‘Shift + Command + 5’.
- A toolbar appears on the screen, with three screen capture buttons on the left and two-screen recording buttons in the middle.
- Press the left-hand record entire screen’ or right-hand record the specified part’ button to start recording.
- When you’ve finished recording, press the small record button on the menu bar at the top of the screen. You can also use the shortcut ‘Command + Control + Esc.’
- Save your recorded videos to your desktop.
Follow Techdee for more!